The resource calendar screen allows you to setup specific working patterns for the individual labour or machine resources.
You can then configure your bill of material operations to utilise this resource calendar when planning jobs in either the Planning or Works Order module.
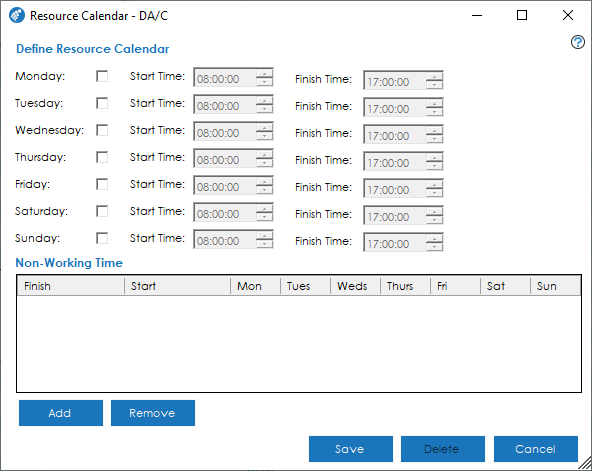
To setup a specific calendar for this resource, firstly, tick which days the resource is typically available. Once you have ticked a specific day, you can specify a start and finish time for that resource.
Beneath the week days, you will see a ‘Non-Working Time’ grid. This grid can be used to define break and lunch periods, or periods where a machine is unavailable for example.
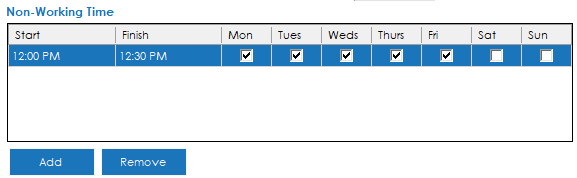
You can add multiple non-working times for each resource calendar.
To add a new non-working time, simply click the Add button. A new line will be entered into the grid.
Click into the start and finish time to define when the period of unavailability starts and finishes. Then tick which days of the week this period of unavailability applies to.
You can remove a non-working period by highlighting the relevant entry in the grid and pressing the Remove button.
To save the resource calendar, press Save
