Following the refreshing of demands from within the Demand Schedule, you can manually run MRP via the Run button when viewing any of the MRP lists.
Note: This button will only be enabled when viewing the MRP lists.
You can also automate MRP to run at a pre-defined time from within Scheduled Planning.
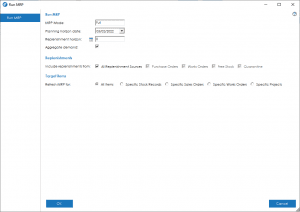
The Run MRP screen contains the following controllable options:
MRP Mode: This will always display ‘Full’. The original specification from MRP in Cim50 also included a ‘Simple’ mode which is now currently under consideration as a wish.
Planning Horizon Date: The date you wish MRP to read up to. Any demands or replenishments beyond this date would be excluded from MRP.
Note: This value is defaulted based on the planning horizon defined in the Planning Settings.
Replenishment Horizon: This setting determines what replenishment horizon should be used for items that do not have a replenishment horizon specified. Depending on the settings this may show ‘Lead Time’, in which case either the suppliers lead time or the manufacturing lead time, as specified on the stock record, will be used, or you can enter a number of days as required.
Note: If an item has a Replenishment Horizon specified on the Stock Record MRP tab, that value will override the value entered in this field. This field only comes into consideration if the Stock Record MRP Replenishment Horizon is set to 0.
Aggregate Demand: This option determines whether the system will take individual stock record aggregation settings into account or not. With this option enabled, demand will be aggregated based on the aggregation settings defined on each item. Otherwise the system will process each demand individually, without any aggregation.
Replenishments: You can choose which replenishment sources you would like to include by ticking/unticking the appropriate options:
Note: When the ‘All Replenishment Sources’ option is selected the individual options are greyed out. To enable the individual options, uncheck the ‘All Replenishment Sources’ option.
Target Items: You can choose to run MRP against all items, or specific targeted items:
All Items: MRP will process all stock records.
Specific Stock Records: Selecting this option will allow you to build a filter to determine which specific stock items MRP should process.
Note: If any manufactured items are returned by the filter, those items will be exploded and any component or sub-assembly items will be added to the MRP run. This is to ensure the system has considered those components/sub-assemblies when calculating whether you can satisfy the demands for the top-level item.
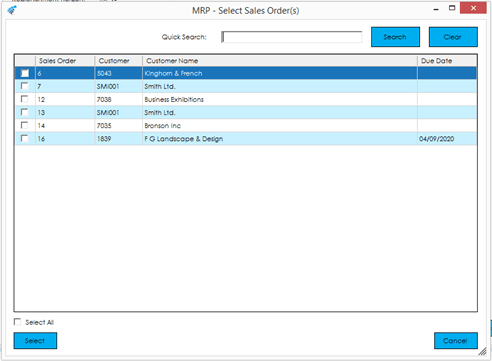
Specific Sales Orders: Selecting this option will allow you to select one or more sales orders. The selection screen is like other selection screens throughout the system.
Tick the box in the left-hand column for the sales orders you wish to include, and press Select.
Warning: You must ensure the selected sales orders are all included in the demand schedule, otherwise no recommendations or results will be returned by MRP.
Note: All outstanding items from those orders will be included in the MRP run. If any manufactured items are included, those items will be exploded, and any component or sub-assembly items will be added to the MRP run. This is to ensure the system has considered those components/sub-assemblies when calculating whether you can satisfy the demands for the top-level item.
Specific Works Orders: Selecting this option will allow you to select one or more works orders. The selection screen is like other selection screens throughout the system.
Tick the box in the left-hand column for the works orders you wish to include, and press Select.
Warning: You must ensure the selected works orders are all included in the demand schedule, otherwise no recommendations or results will be returned by MRP.
Note: All component items from those Works Orders will be included in the MRP run. This is to ensure the system has considered those components/sub-assemblies when calculating whether you can satisfy the demands for the works order items.
Specific Project: Selecting this option will allow you to select one or more Projects. The selection screen is like other selection screens throughout the Planning module.
Tick the box in the left-hand column for the Projects you wish to include, and press Select.
Final Checks: Once you have confirmed which replenishment sources you wish to include, and specified which items you want MRP to process, press the OK button in the bottom left corner of the screen to begin the MRP run.
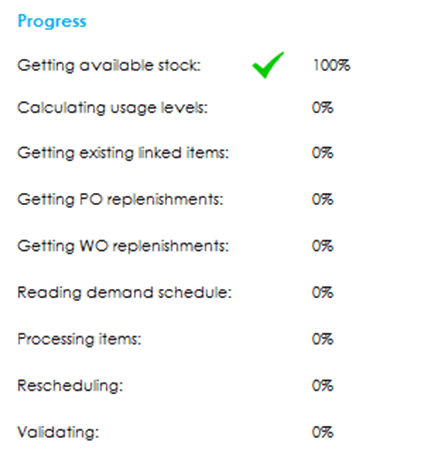
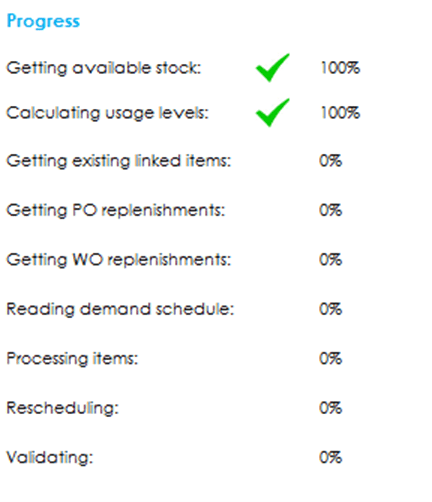
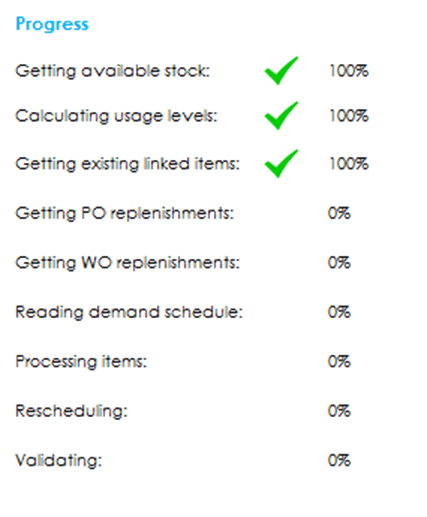
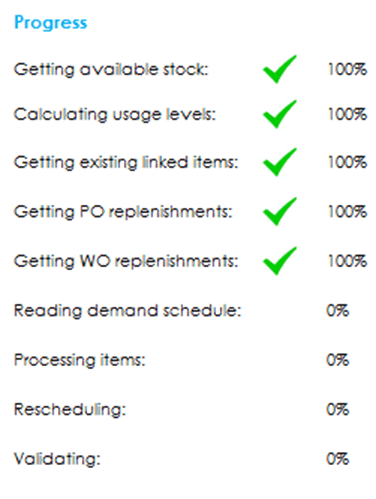
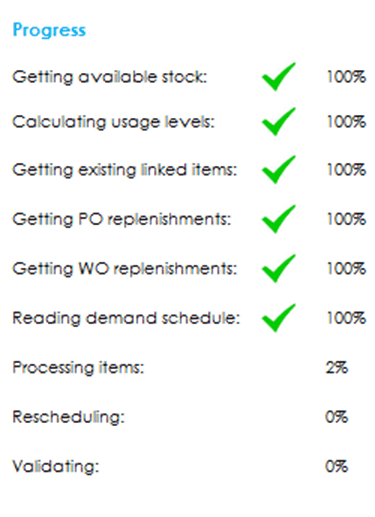
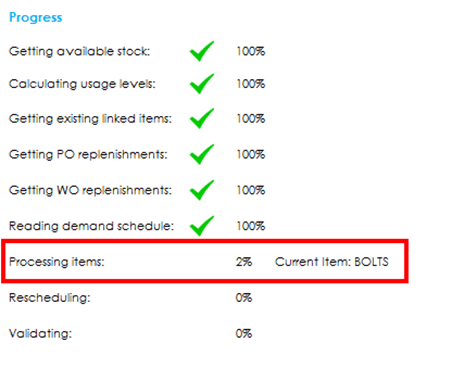
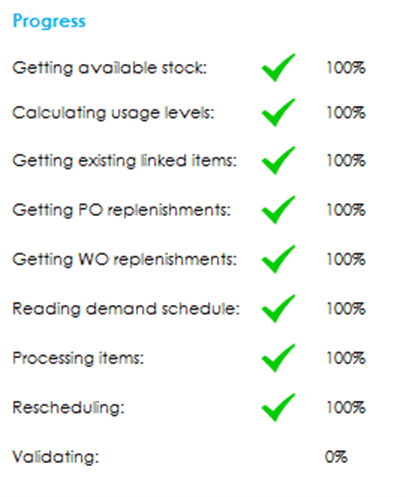
The system will process the MRP run. As it processes through the tasks, a status indicator will display the progress of the run.
Note: Depending on the size of the dataset and number of items to be processed, an MRP run can take anywhere from a few minutes to over an hour.
